OSM Hompage


BACK to CARTER

Carter - BBS

Suits models:

Valiant RV1, SV1 225ci

Valiant AP6, VC  225ci

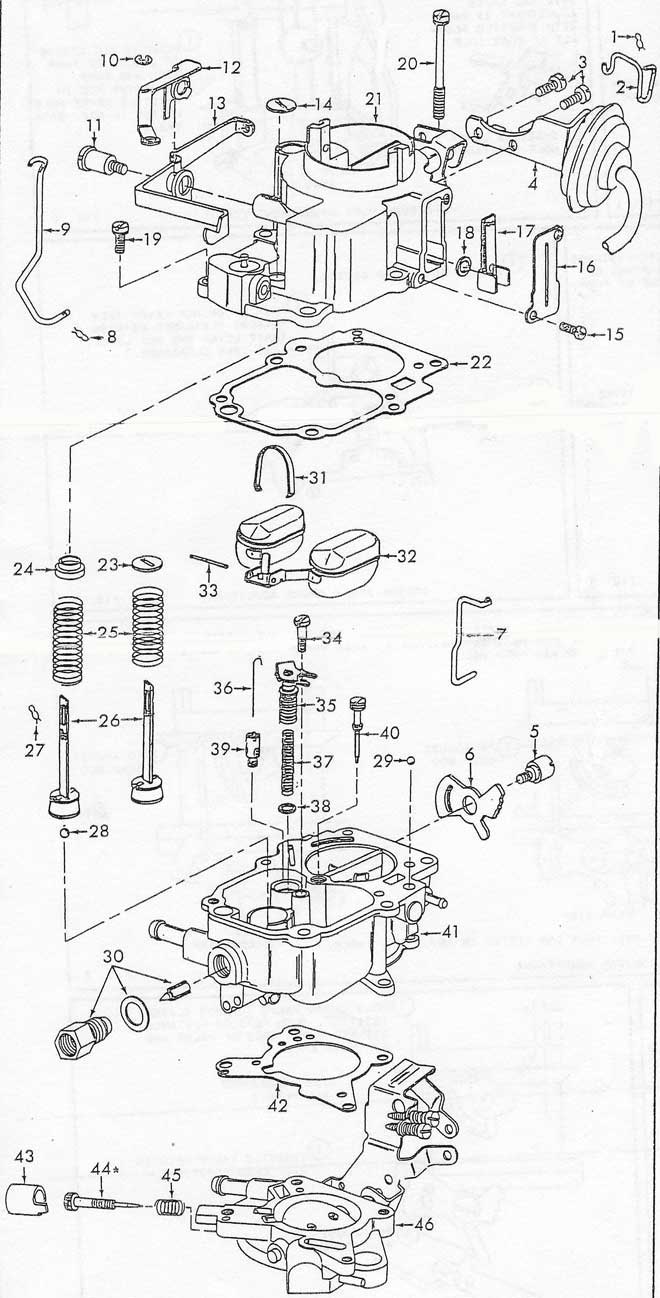
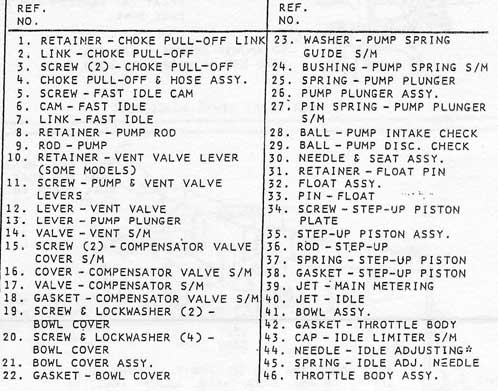
This carby was a great income stream for the carby rebuilder because these carbs just like its brothers proved to be a poor performer as far as service life between rebuilds go. Several rebuilds during their life would be required to keep them operating satisfactorily. The four long cover screws around the air horn were the biggest design fault causing the top and main body to warp substantially. These carbs can be straightened if done very carefully with a little heat applied. The carby I will show you was in horrible condition and deteriorating badly. It would not be unusual for a carby this age to be just about not serviceable. I managed to somehow get it in a serviceable order but for how long, I don't know. The Fuelmiser kit is CA-156. Here is a BBS Service Manual. The schematic is from the service manual and is not quite correct as this exact model was not fitted to the vehicles I listed. The main difference is the top cover shape.

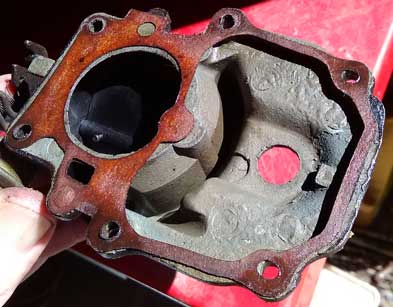
Starting with the warpage problem. You can see a large gap between the air horn and the body just above the needle and seat fitting. With careful heating and a press most of the warpage can be corrected in the top cover.

You can see how the gasket has collapsed into the fuel bowl because there was no pressure holding it in position.

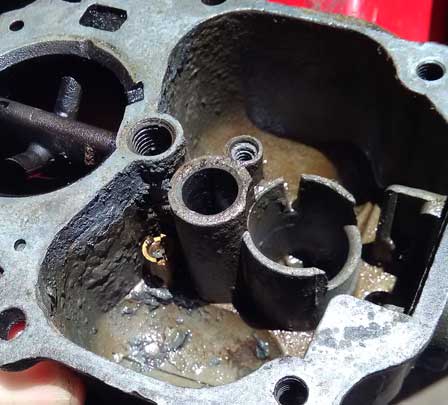
This one was probably almost gone. Corrosion and break down of the casting was very bad. I was surprised that the two screw threads held on re-assembly and for that matter anything threaded seemed to be in good condition. A fair bit of careful scraping was required to clean this up. If I had some of that electrical red paint they use on field windings I would have coated the inside with it to preserve the casting and stop possible further flaking. When little bits come adrift they just block up passages and the carburettor can't meter fuel properly.


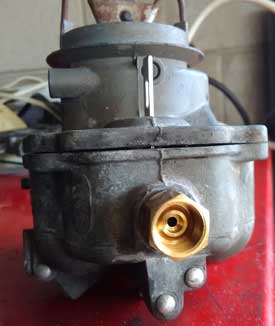
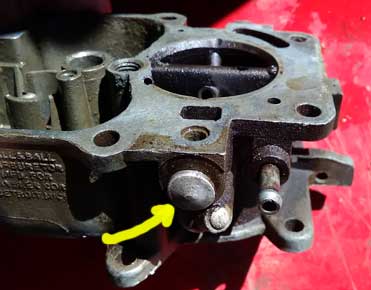
This plug must be removed to gain access to the accelerator pump discharge nozzle. It was seized in but was clear of debris. It worked fine on testing after re-assembly.

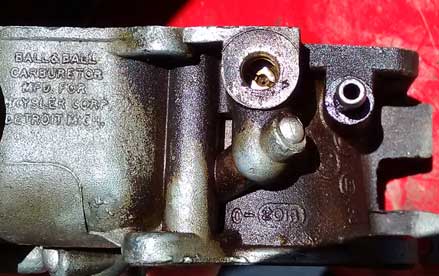
You can see the crap stuck in the idle jet which by the way, the engine would barely start and was not able to idle amongst other problems. I wonder why

After cleaning as best I could, I also flex honed the accelerator pump bore because it was very rough and the plunger would have just leaked badly giving a weak pump shot. The main body will also be warped but not as easy to correct like the top was. Heat once again with a little help of a hammer and the 4 corners that are bent can be slowly brought back. Then just shave the top on some wet&dry 80 grit paper to check for straightness.

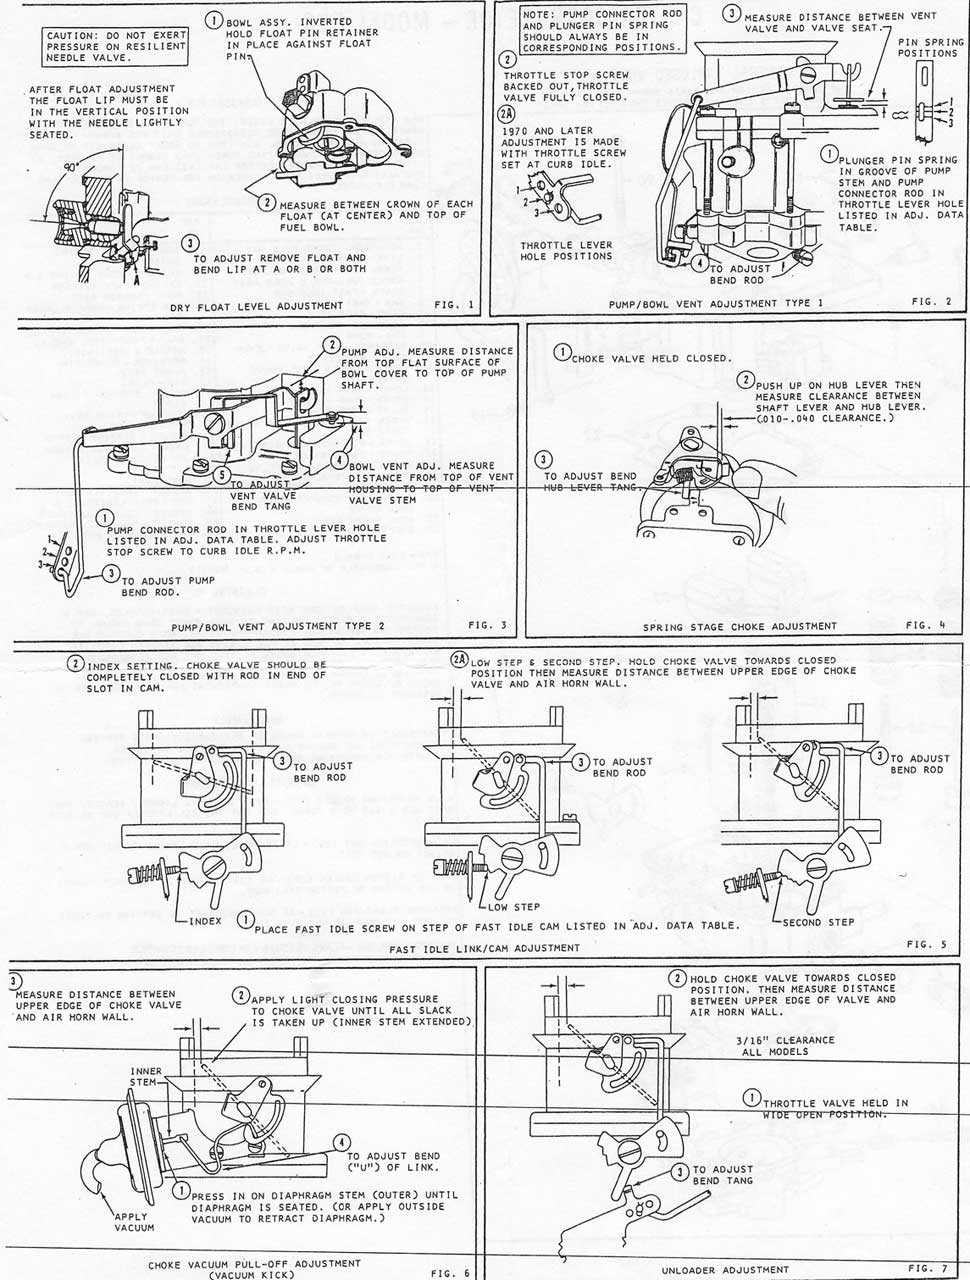
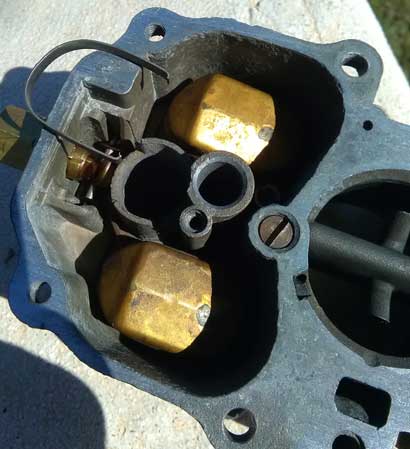
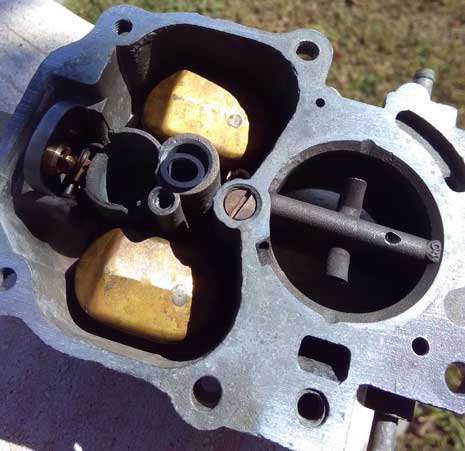
The float retainer in this case was distorted and not holding the float pin in place correctly. Make sure it is not bent and ensure it slides into the channel all the way down till it touches the float pin on both sides and not hanging in the guide slots. If it hangs, then when the top cover is screwed down the clip will bend out of shape.

Make sure you fit the rubber "O" ring and place it in the bottom of the step-up piston cylinder.

Dip the accelerator pump leather into some light oil or petrol, flare the end a little and carefully fit it into the bore. Don't forget the ball bearing. (28)

Main metering jet (39) - later model carbs did not use a gasket on the jet seat.

Install the step-up rod

Your pretty well done, just fit the top and ensure you straightened as best you can all the warped bits.